

Installing CMS.Cndk on IIS, Plesk or a Linux VPS, step by step
CMS.Cndk ships as a self-contained package for Windows or Linux. Upload it, open the setup wizard in your browser and follow it from language to admin account.
Installing a CMS often sounds like the moment the fun stops: runtimes to match, versions to check, a config file nobody wants to touch. CMS.Cndk tries to keep that part short. You upload one package, open a page in your browser, and a wizard walks you through the rest.
One package, no runtime to install
CMS.Cndk is delivered as a self-contained package for Windows (x64) or Linux (x64). The package carries the .NET runtime inside, so .NET doesn't have to be installed on the server. It's a bit like a camping kit that brings its own stove: all you need is a place to set it up.
So where can you set it up?
- Windows: any IIS server, and Plesk Windows hosting. IIS only needs the ASP.NET Core Module V2, which is installed with the .NET Hosting Bundle.
- Linux: a VPS, with the application running as a systemd service behind an nginx reverse proxy that provides the domain and HTTPS.
- Not supported: Linux shared hosting, such as cPanel or Plesk Linux.
For the database there are three options. SQLite is the default and needs no extra server. If you'd rather use a database server, SQL Server 2019 or later and PostgreSQL 14 or later are supported too.
Who it's for
Mostly two groups. First, agencies and IT staff who install the CMS for a client, like a web agency setting up sites for a dental clinic and a bakery in the same week. Second, businesses that host their own site on Windows hosting or a Linux VPS and like keeping it under their own roof.
The installation, step by step
Once the files are uploaded, a browser-based setup wizard at /cndk-install finishes the job one step at a time: language, database, requirements check, site details, license and administrator account.
- Prepare the server. On Windows/IIS or Plesk, give the site its own application pool with .NET CLR Version "No Managed Code", the Integrated pipeline and 32-bit applications turned off. Upload the package to the site root, and give the pool's real account (
IIS AppPool\[pool name], or Plesk's own process account) Modify permission on the site root, applied to subfolders and files. On a Linux VPS, upload the package, run it as a systemd service under a separate user that can write to the application and data folders, and put nginx with HTTPS in front. - Open
https://your-domain/cndk-installand choose the language. - Choose the database. SQLite continues straight away; for SQL Server or PostgreSQL, enter the connection details of an empty database and press Test connection before continuing.
- Check the requirements step, which looks for write permission on the data folder and the site root. Then enter the site details and the license.
- Create the administrator account. A strong password is generated for you; save it, together with the superadmin details shown on the final screen.
- Prepare the site in development mode, and choose Make the site live when it's ready.
Step 6 deserves a word. A new site starts in development mode: only the superadmin sees the public site, and visitors get a preparation page. Think of it as the paper over the shop window while you're still stocking the shelves. When content, menus, SEO and backups are ready, go to Superadmin → System and choose Make the site live.
After setup, the /cndk-install address returns 404. The customer panel lives at /cndk-admin, and the owner (superadmin) panel at /cndk-superadmin.
Worth knowing before you start
A few things are much easier to get right on day one than to fix later:
- Choose the database with care. The database choice can't be changed later from the panel.
- The license follows the domain. It's bound to the domain, so local and test addresses also need a license that covers them.
- Permissions on the whole site root. Modify permission on the site root, not only on the data folder, is what allows updates from the panel later.
- Keep IIS awake. On IIS an idle application may be put to sleep, which delays scheduled tasks. Use the "AlwaysRunning" and preload settings, or call
/cndk/cronevery few minutes from a scheduled task, for example in Plesk. - Lock away private files. After installation, make sure private data files can't be downloaded from outside.
Got a Windows server, a Plesk account or a Linux VPS at hand? Upload the package, open /cndk-install, and watch your site take shape in development mode before anyone else sees it. And if you'd rather not install anything yourself, a ready site comes with the installation on your server included.
More guides
Ready sites: a finished website that is only ever sold once
Ready sites are complete CMS.Cndk websites with design, pages and sample content in place, installed on your server and sold to one buyer only.
Site wizard: go from a blank install to a full first draft
The site wizard plans and builds the pages, menus and content of a new site, along with its theme, and you approve every step on the way.
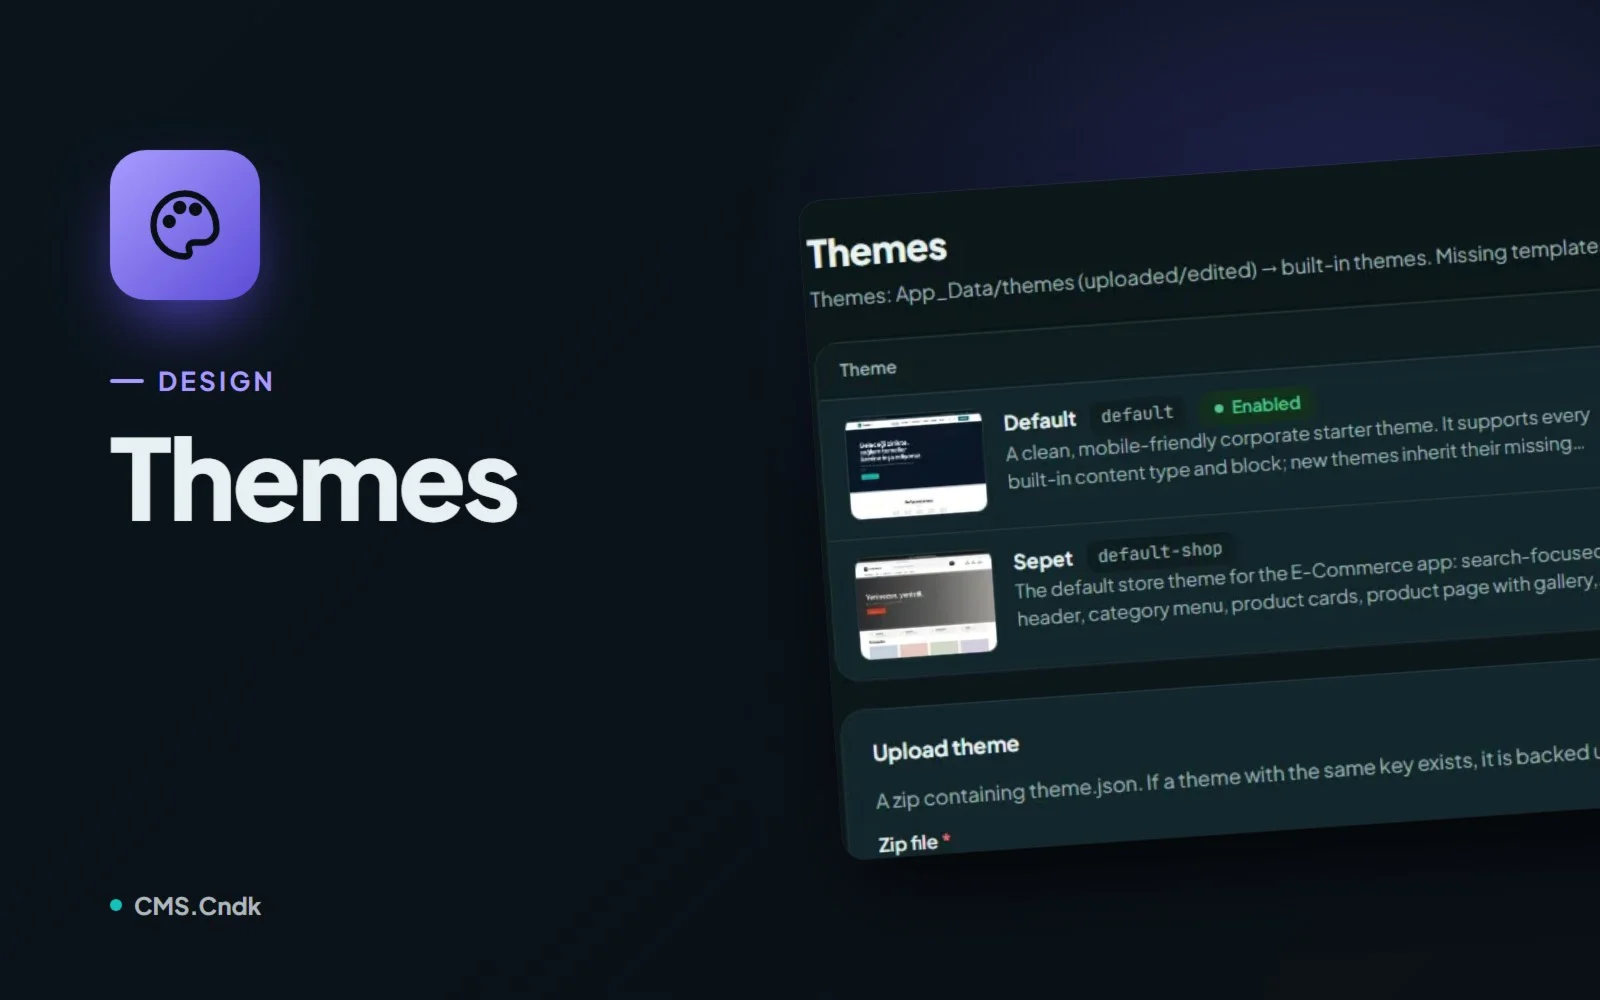
Themes in CMS.Cndk: a new look without losing a single page
Pick a theme from the store or upload your own, add starter content, then let editors fine-tune the logo and options in Theme Settings without code.